
Descriptive Table of Contents - ColorPos's Capabilities
This Descriptive Table of Contents is is part of the ColorPos 1.0 Manual (PDF 1.6 MB) where most of the bold items are click-enabled within the manual so that it serves as a guided tour of ColorPos features and capabilities.
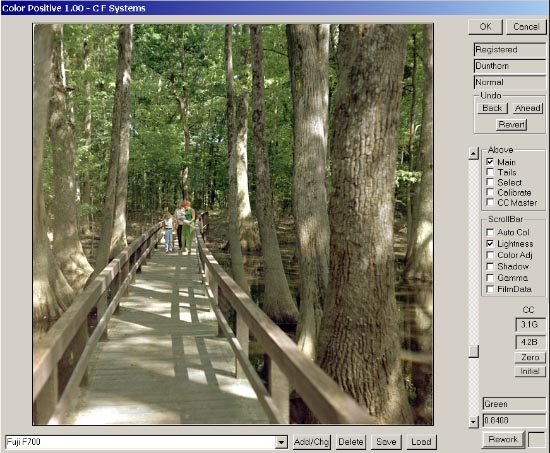
Besides adjusting color images as required to maintain color integrity, ColorPos provides tools to deal with color photographic images with various problems that may have resulted from poor processing or storage. There are also tools for perfectionists who want the best possible results, and tools to help speed the processing and matching the results from image sources that are similar.
To have color integrity in a color photographic image, four considerations are necessary.
First, it is necessary to get the image into Photoshop without damaging or altering it in uncorrectable ways. See The Starting Image for the basics on using a scanner or Photoshop RAW in preparation for ColorPos. This is the most likely source of trouble if ColorPos consistently does not work well on good test sources. If you are having trouble with scanning, there is information on specific scanners and software on:
http://www.c-f-systems.com/Scanners.html.
This page is specifically targeted toward color negatives, but the same techniques will work with color positives. While desirable, it is not normally necessary to get a linear scan or a 16-Bits/Channel scan for positive images.
Second, the image source must be properly characterized. If the positive image source looks correct to begin with or only color balance is required, this is not a problem. If there is a problem, ColorPos provides several ways of dealing with it. Source images that have not been processed or stored properly can sometimes be brought to proper characterization as explained under the Gamma ScrollBar control. For more extreme cases, try the Film Type ScrollBar control, as explained in Film Type Scrolling. For the ultimate in characterization, see the Calibration Feature. Using calibration the source may be directly characterized with the aid of a grayscale with known gray values (see Known Calibration), a grayscale for which the gray values are not known (see Approximate Calibration) or even with a grayscale composed of gray elements within a normal scene (see Natural Grayscale Calibration).
Third, the image lightness must be properly set. As described in Lightness, this is done automatically by ColorPos, but the setting sometimes can be improved using the Lightness ScrollBar control. The setting for automatic lightness can be adjusted - see Tails Control Panel.
Fourth, although ColorPos makes an initial guess at proper color balance, if a color cast remains in the image, the color balance must be adjusted. Frequently this is as simple as clicking a gray patch within the preview image - see Color Balance by Preview Image Click. For images in which there is no convenient gray patch, the Auto Color ScrollBar control systematically takes you through a range of settings that should produce good color balance for your image. Finally, Color Adjustment explains how to use the ScrollBar control to directly adjust the color balance, monitoring the result with the CC filter pack readout.
ColorPos also has a comprehensive CC (color conversion) filter system including both readouts in terms of CC filter packs and the ability to save color correction and shadow settings for use on series of similar image sources. See CC Master Control Panel for complete details including A Brief CC (Color Correction) Filter Tutorial for those who are unfamiliar with this, an extremely useful concept that has largely gone missing from digital imaging.
The Problems and Comments section deals with what to do with images that do not respond to normal treatment with sections on Color Balance Extreme Problems, Different Lighting, Color Balance Differs in the Shadows and Highlights, Setting the Color Balance (in Photoshop proper), and Color Management.
By default ColorPos applies an S-curve to highlights and shadows. Normally this does an excellent job of preventing blocked shadows and blown highlights. Like all tricks, however, it can sometimes cause problems. If you are having a problem with highlight or shadow blocking or other problems in those areas, the section on the Tails Control Panel explains how the highlights and shadow curves are controlled.
ColorPos allows different treatment of the inversion inside and outside a feathered selection. See Selection Control Panel for details and Feathered Selections and How to Make Selections for hints on how to effectively use this feature. Also placed in the otherwise empty Selection Control Panel are the option for including the image edges in the histograms that control ColorPos and a place where the effective system gamma, normally 2.2 for PCs, can be changed if necessary. These options are rarely changed but Linear Input needs to be checked if linear scans are used.
Go to C F Systems Home Page
Privacy Policy and E-Mail